Dune Awakening Best Armor: Mk6 Unique Tier List
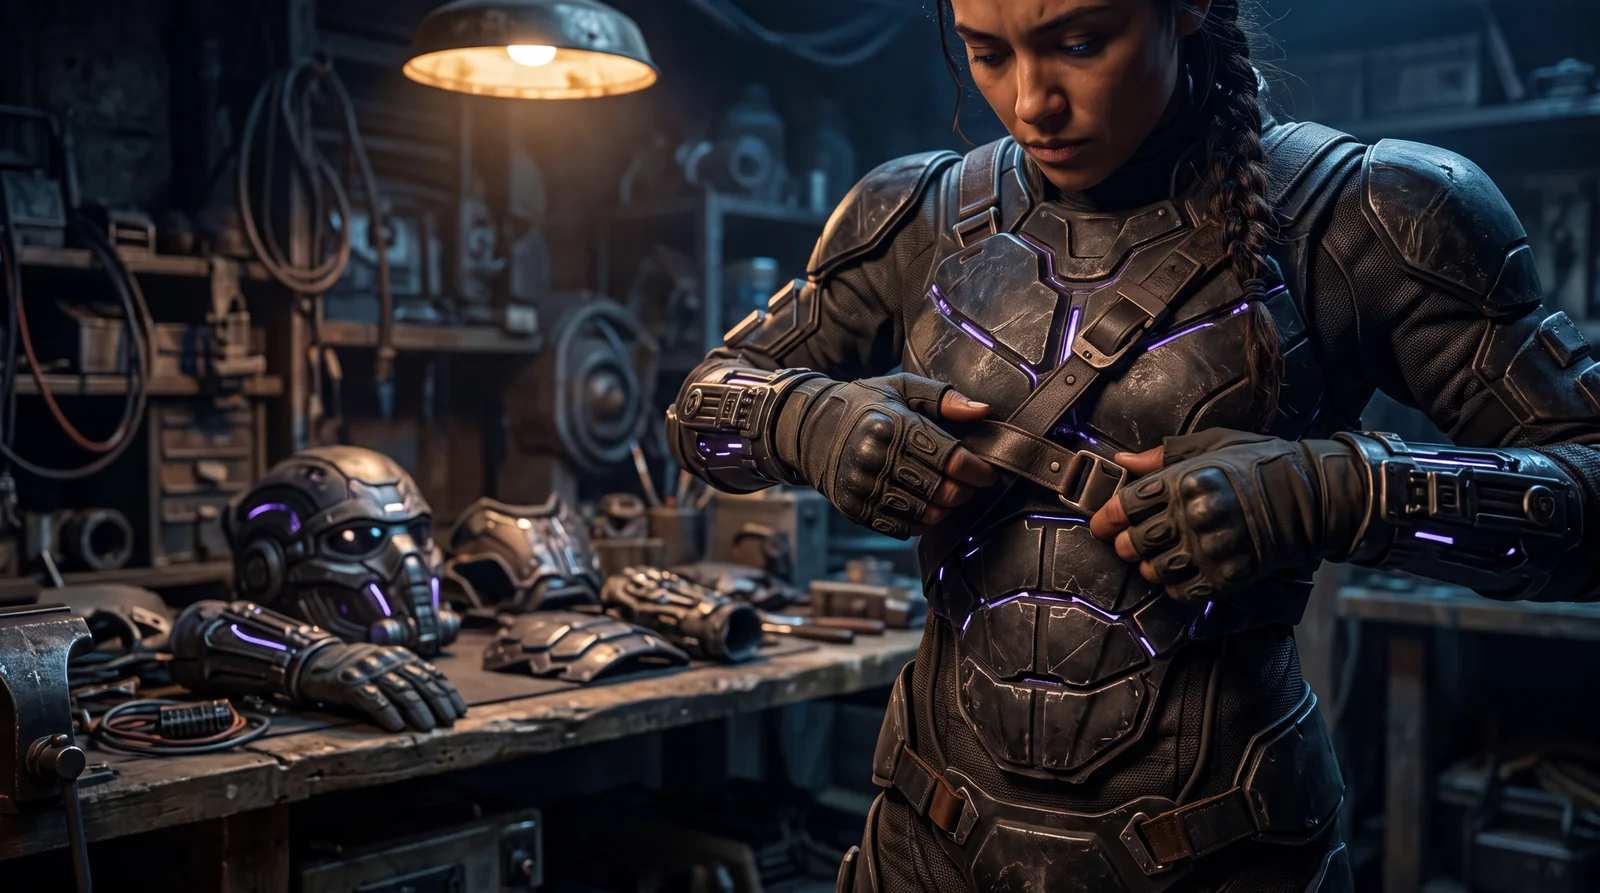
This tier list ranks the Dune Awakening best armor for the endgame: Mk6 unique and graded Mk6 pieces, the strongest armor you get from the Deep Desert, the Landsraad and the Testing Stations. If you are wondering which armor is worth it for your build, the ranking below gives you the answer. Hover over an icon in the grid to see the item's name, slot, a short summary and its stats.
Set pieces take the rank of their whole set, so a single Bulwark piece is only as strong as the set it belongs to. You can still mix pieces freely, because many unique effects sit on individual slots. That is why it pays to look at single pieces instead of only full sets. More on gear and skills is in our best builds guide.
Quick navigation: S-Tier · A-Tier · B-Tier · C-Tier · Method · Verdict · FAQ
| Tier | Pieces and sets | Best for |
|---|---|---|
| S | Circuit Gauntlets, Power Harness, The Forge (set), Tabr Softstep Boots, Tactical Radiation Suit | Almost every build, Testing Stations, farming, irradiated zones |
| A | Combat Exoskeleton Chestpiece, Pincushion (set), Bulwark (set), Ix-core Leggings | Strong with a trade-off or for specific builds |
| B | Idaho's Charge, Executor's (set) | Suspensor builds, heavy armor fans |
| C | Phantom Whisper, Yueh's Reaper Gloves, Wayfinder Helm, Hook-claw Gloves, stillsuits, Pardot's Hood, Shaddam's Bladder, Desert Garb, Crew Chief's Stillsuit Garment | Niche cases only |
Hover over an icon for details.
🧮 How the ranking works
The tiers rate how useful a piece or set is across all content: PvE, PvP, the Deep Desert and the Testing Stations together, not split by game mode. The base is the established ranking from method.gg, checked against the official patch notes and the stats in the item databases.
It is a living list. New chapters and balance patches move pieces around. Since Chapter 3, your weapon decides many fights more than your armor. Armor earns its place mostly where it adds targeted mitigation (fire, poison, radiation, concussive) or a unique utility effect.
🏆 S-Tier: the all-round winners
Strong everywhere, in almost any build, without a real downside.
Circuit Gauntlets
The Circuit Gauntlets earn their top spot because their effect fits practically every loadout. They cut the power use of your entire kit by 10%: shield, suspensor belt, tools and energy weapons included. A power saving that works across all slots is extremely rare, and it even beats the Conservation of Energy technique, which only gives 9% at level 3. Since the hand slot is rarely contested, you can almost always wear them with no regrets.
Power Harness
How strong the Power Harness is shows best next to the Bulwark Chest, which has the same total armor value. The harness loses only about 1.5% dart and concussive mitigation against it, but gains +50 maximum power. Because your shield capacity depends on available power, you take more hits before the shield breaks.
With a Young Sparky Mk6 that works out to roughly 7% more shield. On top of that, suspensor belts, tools and energy weapons run longer. It isn't the best pick in every situation, and sometimes you want a chestpiece with blade mitigation like The Forge Chestpiece instead. As a universal effect, though, +50 power is clearly worth S-Tier.
The Forge (set)
The Forge set moved firmly into S-Tier when elemental damage arrived at the Testing Stations. As light armor it brings the usual perks (blade mitigation, lower dash stamina cost), but what matters are its elemental resistances against fire, energy and poison. The full set gives 50% fire and 30% poison mitigation, which saves you at Testing Station 136 (Fire) and 195 (Poison). Poison is also popular in PvP because it deals damage through shields. Together with light armor's blade mitigation, this is the most versatile light armor in the endgame.
Tabr Softstep Boots
The Tabr Softstep Boots are a must for farming on open sand. Their effect is unique, and only the lower-tier Softstep Boots offer something similar: they lower your worm threat, so it takes longer before the sandworm notices you. When you gather spice or flour sand, that is worth a lot. Even outside of that, the light armor stats (blade mitigation, lower dash stamina cost) are solid. Our spice farming guide shows where they pay off most.
Tactical Radiation Suit
There was no graded version at first, but the schematic now drops at Testing Station 89 (Radiation). The suit is your best option for radiation mitigation, and thanks to its high armor value it defends well in general too. Important: the extra armor more than makes up for the −20% energy mitigation penalty. Even against energy damage, it protects you better than a normal Radiation Suit Mk6.
🥈 A-Tier: strong with a trade-off
Very strong, but with a drawback or built for specific builds.
Combat Exoskeleton Chestpiece
The Combat Exoskeleton is a heavy chestpiece with +10% melee damage (additive). The problem: pure melee builds usually prefer lighter armor for mobility, and hybrid builds barely feel the small bonus. It works for dedicated melee setups, but it is too specialized as a general recommendation. S-Tier is reserved for pieces you can recommend to everyone, so it lands in A-Tier.
Pincushion (set)
The Pincushion set is still excellent, but the Testing Station focus of Chapter 3 pushed it just below the top. It brings three highly wanted stats: dart mitigation (light and heavy), blade mitigation and lower dash stamina cost. As light armor it has less total armor than heavy options like Bulwark, but it makes up for that with blade mitigation and stamina savings, which makes it more versatile. PvP or PvE, Pincushion stays a solid choice.
Bulwark (set)
The Bulwark set scores with high armor values and high dart mitigation. In Chapter 3, where ranged damage in PvP and boss damage at the Testing Stations scale hard, maximum armor matters more than ever, and light versus heavy often decides who lives. When Bulwark is good, it is really good: it makes ranged playstyles where you drop your shield much more survivable, and you can take more risks against ranged players without dying instantly.
Ix-core Leggings
The Ix-core Leggings shine wherever extra stamina savings while dashing help you: −10% dash stamina cost, 2.5 times what a normal Mk6 light armor piece gives (−4%). Like every light piece, they come with blade mitigation. Depending on what you need, an alternative such as the Pincushion Pants can fit better if you value the extra mitigation over stamina.
🥉 B-Tier: solid in their niche
Good at their specialty, rarely the all-round pick.
Idaho's Charge
Suspensor belts with high power drain (such as the Full Suspensor Belt) benefit most: Idaho's Charge is a light jacket that cuts suspensor power drain by 20%, so you stay in the air much longer. For suspensor efficiency it even beats the Power Harness. The effect is strong, but only relevant in special cases, for example against the boss at Testing Station 136 (Fire) once scaling makes fire mitigation useless.
Executor's (set)
The Executor's set is similar to Bulwark but trades some dart mitigation for more concussive mitigation. Concussive damage is rarer than dart damage (it mostly comes from explosions), so with heavy armor you usually do better with high dart mitigation. The heavy armor blade penalty is smaller here, but heavy armor shows its strength mainly when absorbing ranged attacks, so the trade doesn't gain much.
High armor and dart mitigation are valuable, but overall the stat spread is worse than Bulwark's. If you like heavy armor and want a smaller blade penalty, it is still an option.
🎯 C-Tier: situational to unnecessary
Only useful in certain zones or special cases.
Phantom Whisper (helm and chestpiece)
Both Phantom Whisper pieces lower detection speed by 5%. Stealth bonuses have little practical use right now, and the value is too small to change how you play. Light armor alternatives such as The Forge or Pincushion offer far more useful bonuses, which is why the helm and the chestpiece sit with the low-impact pieces in C-Tier.
Yueh's Reaper Gloves
Yueh's Reaper Gloves give up useful mitigation for +10% Dew Reaper yield. By the time you can craft them, you usually have windtraps running and have left dew gathering behind, so the bonus comes too late.
Wayfinder Helm
The Wayfinder Helm drops extra mitigation for +15% handheld scanner range. Most of the time you don't even carry a scanner, and even in the rare niche case, 15% is too little to bother with.
Hook-claw Gloves
The Hook-claw Gloves use less stamina when climbing, a bonus you don't need in the endgame, because by then you fly everywhere with your ornithopter.
Imperial and Villari's stillsuits
Stillsuits have low armor values, hardly any mitigation and few useful bonuses, so they are a weak pick in almost every situation. Early on, when water is scarce, they help. In the endgame, a full literjon makes them unnecessary.
Pardot's Hood, Shaddam's Bladder, Desert Garb and Crew Chief's Stillsuit Garment
These four share the same problem as the stillsuit sets: bonuses to heat protection and water saving don't make up for giving up armor and mitigation. Even the lower dash stamina cost of the Crew Chief's Stillsuit Garment is beaten by light armor alternatives.
🛡️ Which armor should you build?
If you had to choose one light armor, The Forge set is the most versatile pick: fire, poison and energy mitigation plus the usual light armor perks make it strong at the Testing Stations and in PvP. For shield- and power-heavy builds, the Power Harness and Circuit Gauntlets are a given, because both effectively boost your shield and gear performance.
For special jobs, pick on purpose: the Tactical Radiation Suit for irradiated zones, the Tabr Softstep Boots for safe farming on sand. If you want to tank, Bulwark and Executor's bring the highest armor values, at the cost of stamina and blade mitigation.
In practice you often do best with one strong set as a base and single slots swapped for unique effects (gloves or chest, for example). How to get Mk6 armor schematics in the first place is covered in our Deep Desert PvE guide, and which weapons go with your armor is in the best weapons guide.
❓ Frequently asked questions
What is the best armor in Dune Awakening?
There is no single "best" armor, it depends on the content. For versatility The Forge set is top, for shield and power the Power Harness and Circuit Gauntlets, and for irradiated zones the Tactical Radiation Suit. The S-Tier row above covers the strongest all-round options.
Can I mix armor pieces?
Yes. Many unique effects sit on individual slots, so mixing makes sense. If you wear a full set, you also get the set bonus, so you have to weigh the set bonus against single unique effects.
Light or heavy armor?
Heavy armor (Bulwark, Executor's) has the highest armor values and good dart and concussive mitigation, but costs stamina and comes with a blade penalty. Light armor (The Forge, Pincushion) lowers stamina costs, gives blade mitigation and, depending on the set, elemental resistances. For mobility and Testing Stations, light is usually the better choice.
Is this list still current after Update 1.5?
The ranking was built in Chapter 3 (method.gg list from May 19, 2026). The patch notes for Update 1.5 and its hotfixes up to 1.5.3.7 contain no armor stat changes, only fixes to the descriptions of the Bulwark Gloves and Executor's Gauntlets and new cosmetic options. It is a living list and gets updated with balance patches.
As of October 11, 2026: Update 1.5 up to Hotfix 1.5.3.7 (October 9, 2026). Ranking based on method.gg and checked against the official patch notes; item names and stats from the item databases (dune.gaming.tools, gamerguides database, awakening.wiki).